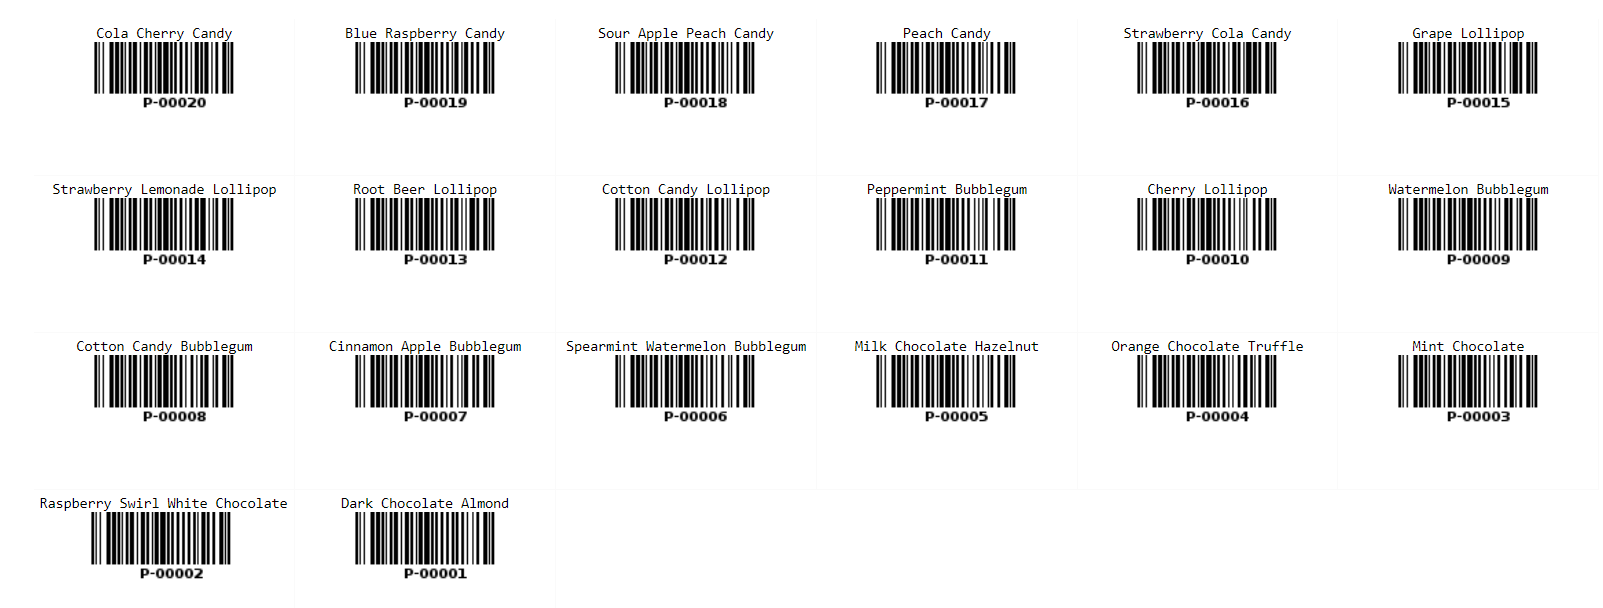
You can use the Label Maker in Ragic Reports to organize and print records and Barcodes into labels, such as product tags, equipment management stickers, production record Barcodes, and more.

Note: The Label Maker displays only the existing field values in the sheet. To create Barcode labels, ensure that the sheet includes a Barcode field; otherwise, the Label Maker will not generate Barcodes automatically.
After creating the Label Make, the following page will appear.

The settings for the Label Make are explained below:
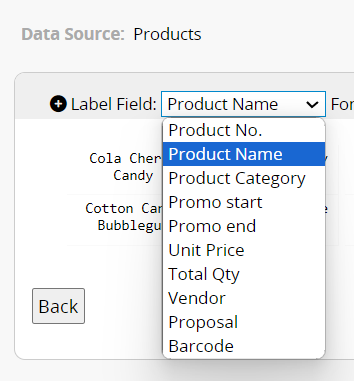
Select the fields to display on the labels. All fields are available for selection except those in Subtables.

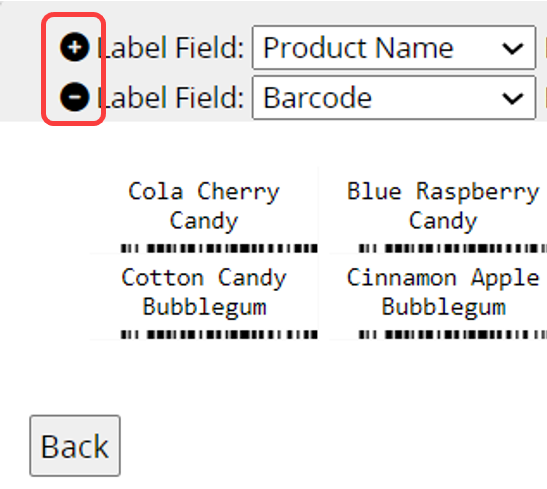
You can use multiple fields on a label. Click the "+" and "-" to add or remove fields. The fields are arranged based on their selection order; for example, selecting "Product Name" before "Barcode" will display "Product Name" first, with "Barcode" below it.

You can also choose to Show Field Name on the label.

In the Advanced settings of the first Label Field, you can specify a Label Count Reference Field. You may select any Numeric field on the sheet as the reference. For example, if you choose the "Total Qty" field, the system will automatically generate that number of labels.

You can adjust the label format, including "Font", "Font Size", "Indent", "Alignment", "Height", "Width", and "Text Wrapping".

If the Label Field is a Barcode field, you can set the barcode "Height and Width" in the Advanced settings.

If the label is not fully displayed, check if you have set the correct Label Height and Width.
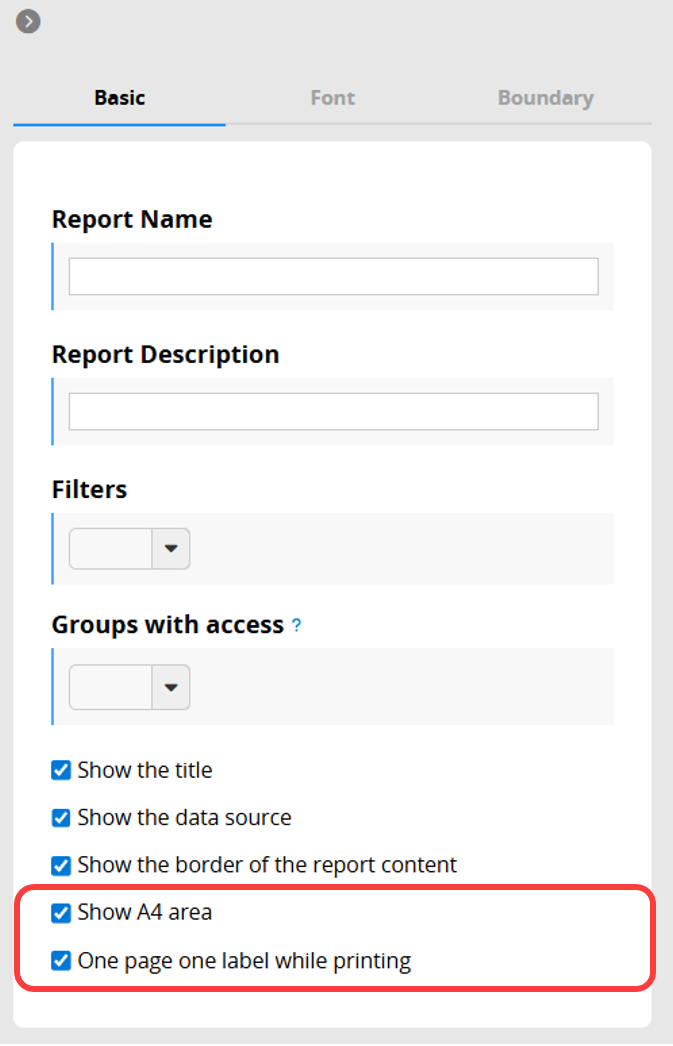
In the Report Settings, you can check Show A4 Area to preview the print area.
If you want each label to be printed on a separate page, select the One page one label while printing option.

If you frequently use this type of report, you can save it for easy access later. Additionally, you can export the report as a PDF file or print it.
You can apply filters to generate the desired report.
You can embed the report into your website or share a link with others.
In the Report Settings, you can adjust the report’s style settings, including font, font size, borders, etc., and the report’s Filter and Access Rights.
 Thank you for your valuable feedback!